

Transferring a website to a new hosting provider can seem tricky. But it’s a common task for many website owners.
Switching hosts might be due to better pricing, improved features, or more reliable support. Whatever the reason, moving your website doesn’t have to be a headache. In this guide, you’ll learn the steps to transfer your website smoothly. From backing up your data to setting up your new host, we’ll cover each step in simple terms.
This way, even if you’re not a tech expert, you can handle the transfer with confidence. Ready to get started? Let’s dive in and make this transition as stress-free as possible.
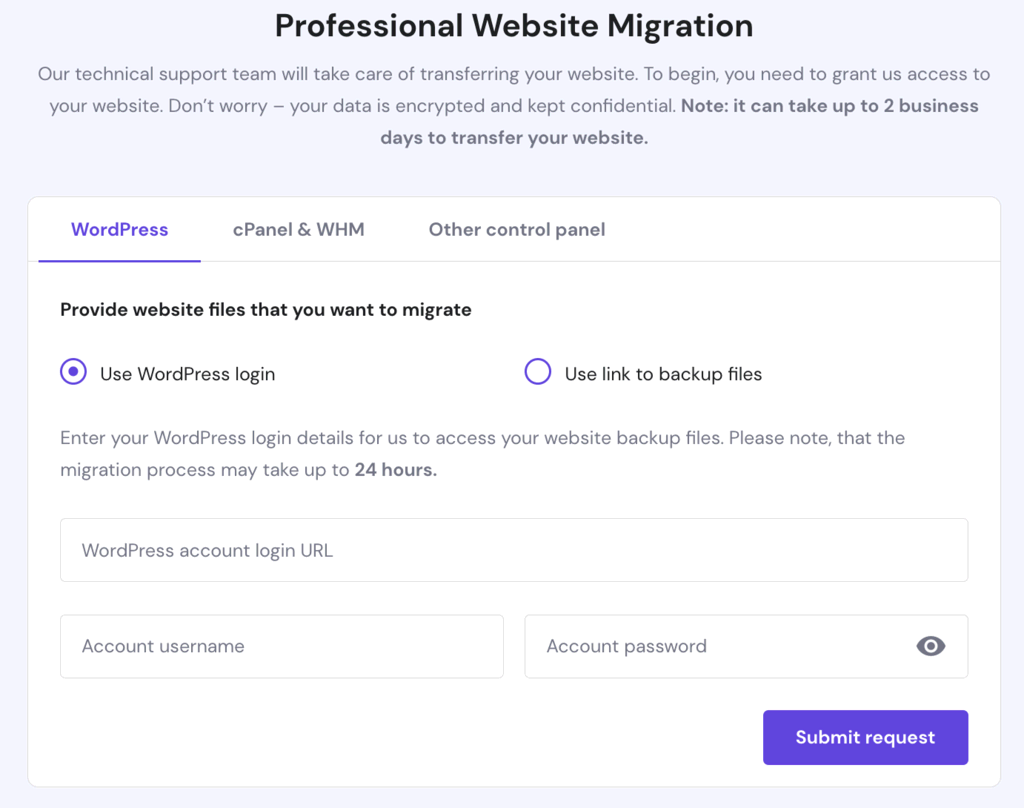
Credit: www.hostinger.com
Choosing A New Hosting Provider
Transferring your website to a new hosting provider can feel overwhelming. The right hosting provider can make a big difference. It affects your site’s speed, security, and overall performance. Choosing the right one is crucial.
Factors To Consider
First, think about your website’s needs. Do you need more storage or bandwidth? Some websites need extra features like e-commerce support. Make a list of your requirements.
Next, check the hosting provider’s reliability. Look for a provider with a good uptime record. Uptime means the time your website is live and accessible. Higher uptime means fewer interruptions for your visitors.
Customer support is essential. Choose a hosting provider with 24/7 customer support. This way, you can get help whenever you need it.
Price is another important factor. Compare the costs of different hosting plans. Make sure you get good value for your money.
Popular Hosting Options
There are many hosting providers to choose from. Some of the popular ones include Bluehost, SiteGround, and HostGator. Each has its own strengths.
Bluehost is known for its beginner-friendly plans. It offers good customer support and affordable pricing.
SiteGround is praised for its excellent uptime and customer service. It may be a bit more expensive, but it offers great performance.
HostGator offers flexible plans and good scalability. It’s a solid choice for growing websites.
Consider these options and compare their features. Choose the one that best fits your needs. Transferring your website will be easier with the right hosting provider.

Credit: www.vodien.com
Backing Up Your Website
Transferring your website to a new hosting provider can be a daunting task, but it doesn’t have to be. One of the most critical steps in this process is backing up your website. Ensuring you have a complete backup will safeguard your data and provide peace of mind during the transition. Let’s dive into two popular methods for backing up your website: Manual Backup and Using Plugins.
Manual Backup
Manual backup is the old-school way, but it’s still incredibly effective. It involves downloading your website files and database directly from your current hosting provider. Here’s a simple guide to help you through:
- Access Your Hosting Account: Log in to your current hosting provider’s control panel.
- Download Website Files: Navigate to the File Manager or use an FTP client like FileZilla to download all your website files to your local computer. This includes HTML, CSS, PHP files, images, and more.
- Export Your Database: Use a tool like phpMyAdmin to export your database. Select your database, click on the Export tab, and choose the format (usually SQL).
This method might seem a bit hands-on, but it ensures you have a complete copy of your site ready to upload to your new host.
Using Plugins
If the manual method feels like too much of a hassle, don’t worry! There are plugins designed to make this process much easier. Here are a couple of popular choices:
- UpdraftPlus: This plugin allows you to back up your entire site, including files and database, with just a few clicks. It also supports scheduled backups, so you can set it and forget it.
- Duplicator: Another great option, Duplicator not only backs up your site but also packages it for easy migration to a new host. It’s like having your cake and eating it too!
Using plugins can save you a lot of time and effort. Most of them come with user-friendly interfaces, making the backup process as simple as clicking a few buttons.
So, whether you prefer the hands-on approach or the convenience of plugins, backing up your website is a crucial step you shouldn’t skip. After all, better safe than sorry, right?
Exporting Your Website Data
Exporting your website data is a crucial step in transferring your site. This process ensures that all your content, settings, and databases move to the new hosting provider without loss. Follow these steps to export your data efficiently.
Database Export
Your website’s database holds essential information. This includes user data, posts, comments, and settings. To export your database, access your hosting control panel. Look for the database management tool, often called phpMyAdmin.
Open phpMyAdmin and select your database. Click on the “Export” tab. Choose the “Quick” export method for simplicity. Select “SQL” as the format. Click “Go” to download the database file to your computer.
File Export
Next, export your website’s files. These files include themes, plugins, and media. Use an FTP client like FileZilla to connect to your current hosting server. Enter your server details to establish the connection.
Navigate to the root directory of your website. This is often called “public_html” or “www”. Select all files and folders. Right-click and choose “Download” to save them to your computer. Ensure you keep the folder structure intact.
Setting Up Your New Hosting Account
Setting up your new hosting account is a crucial step in transferring your website. This process involves creating an account and configuring DNS settings. Let’s break it down into simple steps to ensure a smooth transition.
Creating An Account
First, visit your new hosting provider’s website. Look for the “Sign Up” or “Get Started” button. Click on it to begin the process. Fill in your personal details. Provide your name, email, and a secure password. Choose a hosting plan that fits your needs.
After entering your information, review the terms and conditions. Make sure you understand them. Finally, submit your details to create your account. You will receive a confirmation email. Follow the instructions in the email to verify your account.
Configuring Dns Settings
Next, log in to your new hosting account. Find the DNS settings section. This is usually under “Domain Management” or “DNS Management”. You need to update your DNS records.
Locate your current DNS settings from your old hosting provider. Copy these settings. Then, paste them into the DNS settings of your new hosting account. This ensures that your domain points to the new server.
Save the changes. It may take a few hours for the changes to take effect. Once updated, your website will start working with the new hosting provider. Keep monitoring the transition to ensure everything runs smoothly.
Importing Your Website To The New Host
Importing your website to a new host is a crucial step. This process ensures that your website moves smoothly to its new home. By following these steps, you can avoid any downtime or issues. Let’s break it down into manageable tasks.
Database Import
First, you need to import your database to the new host. Export the database from your old host using phpMyAdmin. Save the file to your computer. Next, log in to your new host’s phpMyAdmin. Create a new database. Import the saved file into this new database. Check for any errors during the import process.
File Upload
Next, you need to upload your website files. Connect to your new host using an FTP client. Upload all your website files to the new hosting account. Ensure you upload files to the correct directory. This will usually be the public_html folder. Double-check that all files have transferred correctly. This step completes the migration of your website files.
Testing Your Website On The New Host
So, you’ve successfully moved your website to a new hosting provider. Congratulations! But hold your horses—don’t pop the champagne just yet. Before you go live, it’s crucial to test your website on the new host. This step ensures everything is running smoothly, and your visitors won’t encounter any nasty surprises. Testing might seem daunting, but it’s easier than you think. Let’s break it down step-by-step.
Checking Functionality
First things first, you need to check if everything works as it should. This includes all the links, forms, and interactive elements on your site. Here’s a simple checklist to follow:
- Click on every link to ensure they lead to the correct pages.
- Test all forms (contact forms, signup forms, etc.) to make sure they submit data correctly.
- Check any interactive features, such as image sliders or pop-ups, to ensure they function properly.
Think of this as kicking the tires on a new car. You wouldn’t buy it without making sure it runs smoothly, right?
Identifying Issues
Despite your best efforts, there might still be some bugs or glitches. Don’t worry; it’s all part of the process. Here’s how to identify and fix them:
- Error Messages: Look out for any error messages that appear when you navigate your site. These could be 404 errors (page not found) or 500 errors (server issues).
- Slow Loading Times: Use tools like Google PageSpeed Insights to check your site’s loading speed. If it’s slow, you might need to optimize your images or tweak your server settings.
- Broken Links: Use a tool like Broken Link Checker to find any links that are not working and fix them.
Remember, even the best websites can have hiccups. The key is to identify these issues early and fix them before they affect your users.
Testing your website on the new host is like a dress rehearsal before the big show. It might seem tedious, but it’s essential for ensuring a smooth transition. And trust me, your users will thank you for it!
Updating Dns Records
Updating DNS records is a crucial step in transferring your website to a new hosting provider. DNS records tell the internet where to find your website. When you move to a new host, you need to update these records. This ensures visitors reach your site on the new server.
Changing Nameservers
Nameservers are part of DNS records. They direct traffic to your hosting provider. To update them, log in to your domain registrar. Look for the DNS settings section. Enter the nameservers provided by your new host. Save the changes. This process may vary slightly by registrar, so check their help guide if needed.
Propagation Time
Changes to DNS records do not happen instantly. Propagation time is the period it takes for DNS changes to spread worldwide. This can take up to 48 hours. During this time, your site may be accessible from both old and new servers. Be patient and avoid making further changes during this period.
Credit: www.wpbeginner.com
Finalizing The Transfer
So, you’ve taken the plunge and transferred your website to a new hosting provider. Congrats! But wait, there’s still a bit more to do. Finalizing the transfer is crucial to ensure everything runs smoothly. It’s like moving houses – even after you’ve moved your furniture, you still need to unpack and settle in. Here’s what you need to do to finalize the transfer.
Monitoring Performance
Once you’ve moved your website, it’s time to keep an eye on how it’s performing. Think of it as checking in on a new pet to make sure they’re happy and healthy. You want to ensure that all functionalities are working as expected and that your site is running quickly and efficiently. Here’s a quick checklist:
- Page Load Speed: Use tools like Google PageSpeed Insights to see how fast your pages are loading. A slow site can frustrate visitors.
- Broken Links: Check for any broken links that may have occurred during the transfer. Tools like Screaming Frog can help with this.
- User Experience: Navigate your site as a user would. Ensure all forms, buttons, and links are functional.
- Uptime Monitoring: Use tools like UptimeRobot to make sure your site is live and accessible.
Cancelling Old Hosting
Now that your site is running smoothly on its new home, it’s time to say goodbye to your old hosting provider. But don’t cancel right away! Ensure everything is perfect on the new host first. Here’s what to do:
- Backup Data: Always backup your website data before making any final moves. Better safe than sorry!
- Double-check DNS: Make sure your DNS settings are correctly pointed to your new host.
- Cancel Subscription: Once you’re confident everything is in order, cancel your old hosting plan. Most providers offer a straightforward cancellation process through their control panels.
Remember, it’s crucial to make sure that your site is stable on its new host before cancelling the old one. Think of it like moving houses – you wouldn’t want to give up the keys to your old place before you’re sure the new one is in perfect shape!
Finalizing the transfer might seem like a lot of work, but with a little attention to detail, your website will be settled in its new home in no time. Happy hosting!
Frequently Asked Questions
Can I Transfer My Website To Another Host?
Yes, you can transfer your website to another host. Backup your files, databases, and update DNS settings.
How Long Does It Take To Transfer A Website From One Host To Another?
Transferring a website usually takes 24-48 hours. This includes domain propagation and data migration.
How Do I Move My Domain To A New Host?
To move your domain, unlock it and get the authorization code. Update the DNS settings at your new host. Initiate the transfer with the code. Confirm the transfer through the email link. Your domain will move within a few days.
Can I Move My Website From Godaddy To Another Host?
Yes, you can move your website from GoDaddy to another host. Backup your files, choose a new host, and transfer.
Conclusion
Transferring your website to a new hosting provider can seem daunting. But with careful planning, it becomes manageable. Follow the steps outlined above, and your site will be up and running smoothly. Always back up your data first. Remember to check everything works after the move.
Your visitors should not notice any issues. Take your time. Ensure a smooth transition. Your website’s new home awaits.